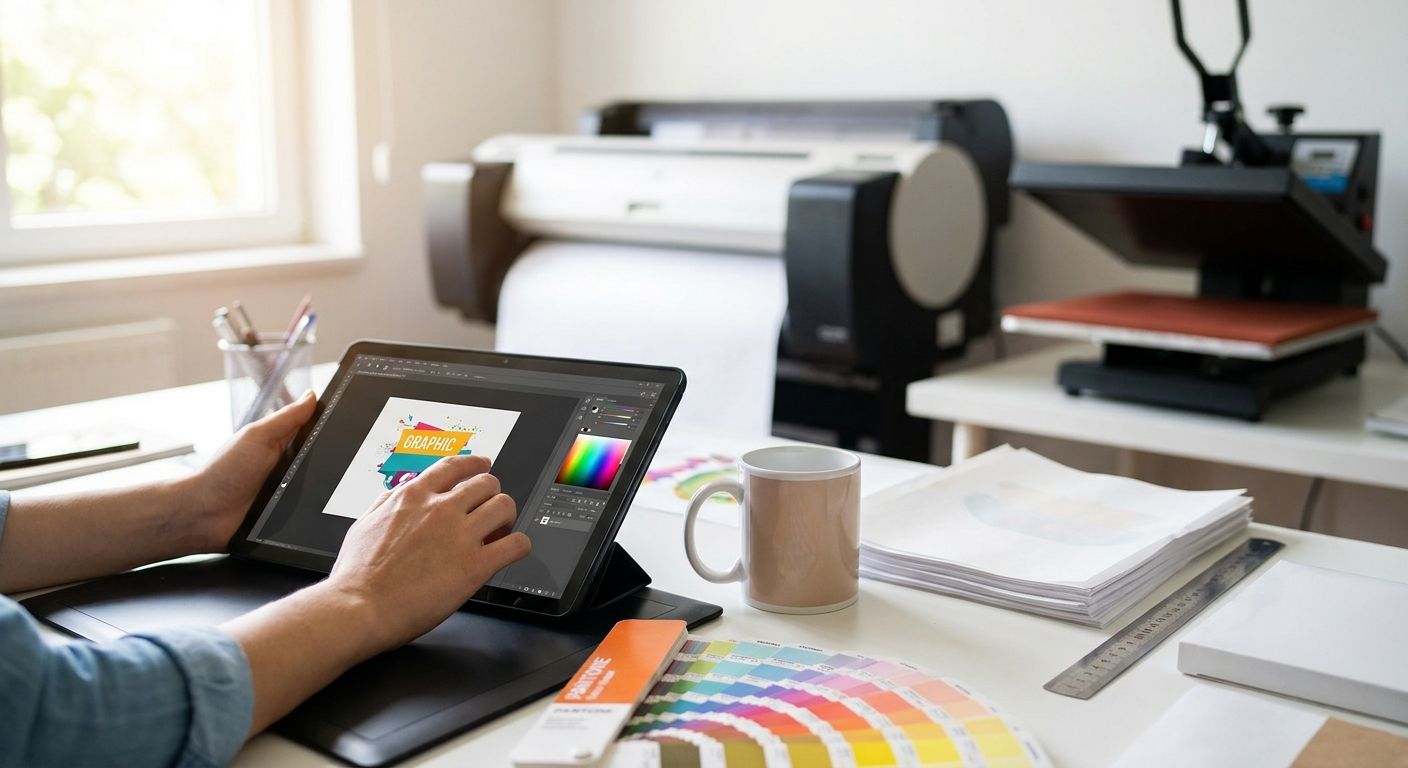
Sublimation printing artwork setup means locking in three things before you save the file: RGB color mode, 300 DPI resolution, and a canvas sized to the exact substrate you're pressing onto, not the paper it prints on first. Skip any one of those and the transfer comes out faded, pixelated, or shifted off-color once the heat press does its work. The hidden cost most people miss: sublimation ink can't print white, so any white or light element in your design has to be the bare substrate colour showing through, not actual ink.
- Sublimation printing artwork setup requires RGB mode, 300 DPI and a canvas matched to the substrate, not the paper.
- Sublimation can't lay down white ink - white areas must be the blank substrate itself.
- PNG or TIFF with a transparent background beats JPG whenever the design isn't a full-bleed rectangle.
- Screen colours and pressed colours won't match exactly - sublimation dye shifts during the heat transfer.
- Mugs, apparel and hard-goods jobs at Print Fast in 2026 all start from this same file checklist.
Why this matters
A sublimation transfer is a one-shot process. Once the heat press cycles, the dye has gassed into the polyester coating and there's no reprinting that exact sheet. A file mistake doesn't just look bad on screen - it burns paper, ink, press time, and the blank product underneath it.
Most rejected sublimation jobs in 2026 trace back to one of three things: wrong colour mode, resolution too low for the print size, or a background that wasn't actually transparent when it needed to be. Fix those three before submitting and the rest of the process is routine.
If you're on a rush timeline, file prep is where the clock is won or lost. Reprints cost far more hours than a careful export does, which is why the file checklist matters more on fast-turnaround work than on anything else. Print Fast handles that kind of tight-deadline job daily out of Toronto - same-day and rush printing starts with artwork that's already press-ready.
How to set up artwork for sublimation printing
Follow this order every time. Skipping steps is the single biggest cause of blurry or colour-shifted transfers.
- Set your canvas to the finished substrate size, not letter paper. A mug wrap, a tumbler panel and a shirt front all have different usable print areas - measure the actual product, not the sheet the transfer prints on.
- Work in RGB, not CMYK. Sublimation printers run RGB colour profiles built for dye-sub inks. A CMYK file prints duller because the printer has to reinterpret it on the fly.
- Design at 300 DPI minimum at final size. Scaling a low-res logo up to fill a mug or panel is the fastest way to get soft, pixelated edges once it's pressed.
- Save as PNG or TIFF with a transparent background whenever the design isn't a full-bleed rectangle. JPG flattens transparency to white, and on a coloured substrate that shows as a visible box around your art.
- Add 1/8 inch (0.125 in / 3 mm) of bleed on any design that runs to the edge, the same standard used across commercial print. Wrap-around items like mugs need extra allowance where the seam falls.
- Proof for colour shift, not exact match. Sublimation dye changes as it moves from solid to gas during the press cycle, so a screen preview or paper proof will never look identical to the pressed result. Build in tolerance instead of chasing a pixel-perfect match.
Sublimation is what lets items like custom mugs carry full-colour photos and logos without the print peeling the way a vinyl wrap would - but only if the file arrives set up this way.
Sublimation vs. other print methods: what the file needs
| Method | Colour mode | Resolution | White ink |
|---|---|---|---|
| Sublimation | RGB | 300 DPI at final size | Not possible - substrate shows through |
| Standard digital/offset print | CMYK | 300 DPI at final size | Printed on white stock |
| Large-format signage | CMYK | Lower DPI acceptable at viewing distance | Printed on white or coloured media |
The verdict: sublimation is the only common print method where an RGB file is correct and a CMYK file is a mistake. That single difference causes more rejected sublimation artwork than everything else combined.
Why sublimation artwork prep goes wrong
- CMYK files submitted instead of RGB - colours print duller and hues shift unpredictably during conversion.
- Low-resolution logos pulled from a website - web graphics usually sit at 72-96 DPI, well under the 300 DPI a pressed product needs.
- No transparency on non-rectangular designs - a JPG background renders as a solid white box once pressed onto a coloured substrate.
- Ignoring the no-white-ink rule - designers used to inkjet or laser output forget sublimation can't lay down white, so white text and highlights have to be planned as blank substrate.
- Skipping bleed on wrap-around items - mugs, tumblers and curved panels have a seam, and artwork without margin there leaves a visible gap.
- Proofing on plain paper and expecting an exact match - the dye only reaches its true colour after the heat-press cycle, so a paper proof is a guide, not a guarantee.
“Sublimation can't print white - every white area in your design is just the blank product showing through.”
Get your artwork checked before press
Send your file for a custom quote and fast-turnaround printing in Toronto.
Does sublimation printing use CMYK or RGB?
Sublimation printing uses RGB, not CMYK. Dye-sublimation printers are built around RGB colour profiles, and a file submitted in CMYK prints flatter because the printer has to reinterpret those values before laying down ink. Convert to RGB before export, not after.
What DPI do I need for sublimation printing?
Sublimation printing needs 300 DPI at the final print size, the same baseline used across most commercial print in 2026. Anything lower and edges soften, small text blurs, and fine photo detail disappears once the heat press sets the image. Check DPI at output size, not at the size the file happens to open in.
Why does my sublimation print look different once it's pressed?
Sublimation ink starts as a solid dye and turns to gas during the heat-press cycle, which shifts the final colour away from what you saw on screen. That shift is normal, not a printing error. Build a small colour tolerance into your expectations rather than treating a monitor preview as final.
Dye-based printing on coated stock runs into a milder version of the same effect - photo calendars are a good example of why proofing on the actual substrate always beats trusting the screen.
FAQ
What file format is best for sublimation printing?
PNG or TIFF with a transparent background is best for sublimation printing whenever the design isn't a full-bleed rectangle. JPG works for full-bleed art but flattens any transparency to solid white.
Does sublimation printing need CMYK or RGB?
Sublimation printing needs RGB. Dye-sub printers run on RGB colour profiles, so a CMYK file gets reinterpreted on press and typically prints duller or off-hue.
How much bleed does sublimation artwork need?
Sublimation artwork needs about 1/8 inch (0.125 in / 3 mm) of bleed on any design running to the edge, matching the standard bleed used across commercial print. Wrap-around items like mugs need extra allowance at the seam.
Can I use a JPG for sublimation printing?
Yes, a JPG works for sublimation printing if your design is a full-bleed rectangle with no transparent areas. For logos or shapes with cutouts, PNG or TIFF preserves transparency a JPG would flatten to white.
Does sublimation printing print white ink?
No, sublimation printing cannot print white ink. Any white or light element has to be the bare substrate colour showing through, so plan white space as blank material rather than printed ink.
What resolution do I need for sublimation printing?
You need 300 DPI at final print size for sublimation printing. Scaling a low-resolution file up to fit a larger product is the most common cause of blurry or pixelated transfers.
Why don't my sublimation colours match my screen?
Sublimation colours won't match your screen exactly because the dye shifts as it moves from solid to gas during the heat-press cycle. Treat a screen preview as a guide, not a final proof.
Is sublimation good for printing photos?
Sublimation suits photo printing because the dye produces continuous-tone colour without a visible dot pattern, which is why it's common on photo mugs and photo panels. It still needs a 300 DPI source file to hold detail.
One last thing
The detail that trips up even experienced designers in 2026: a design that looks perfectly white on screen isn't printed white at all - it's the blank substrate showing through gaps in the ink. Design your white space on purpose. Get that right, and the rest of the sublimation printing artwork setup checklist - RGB, 300 DPI, transparent PNG, 0.125 in bleed - handles itself.